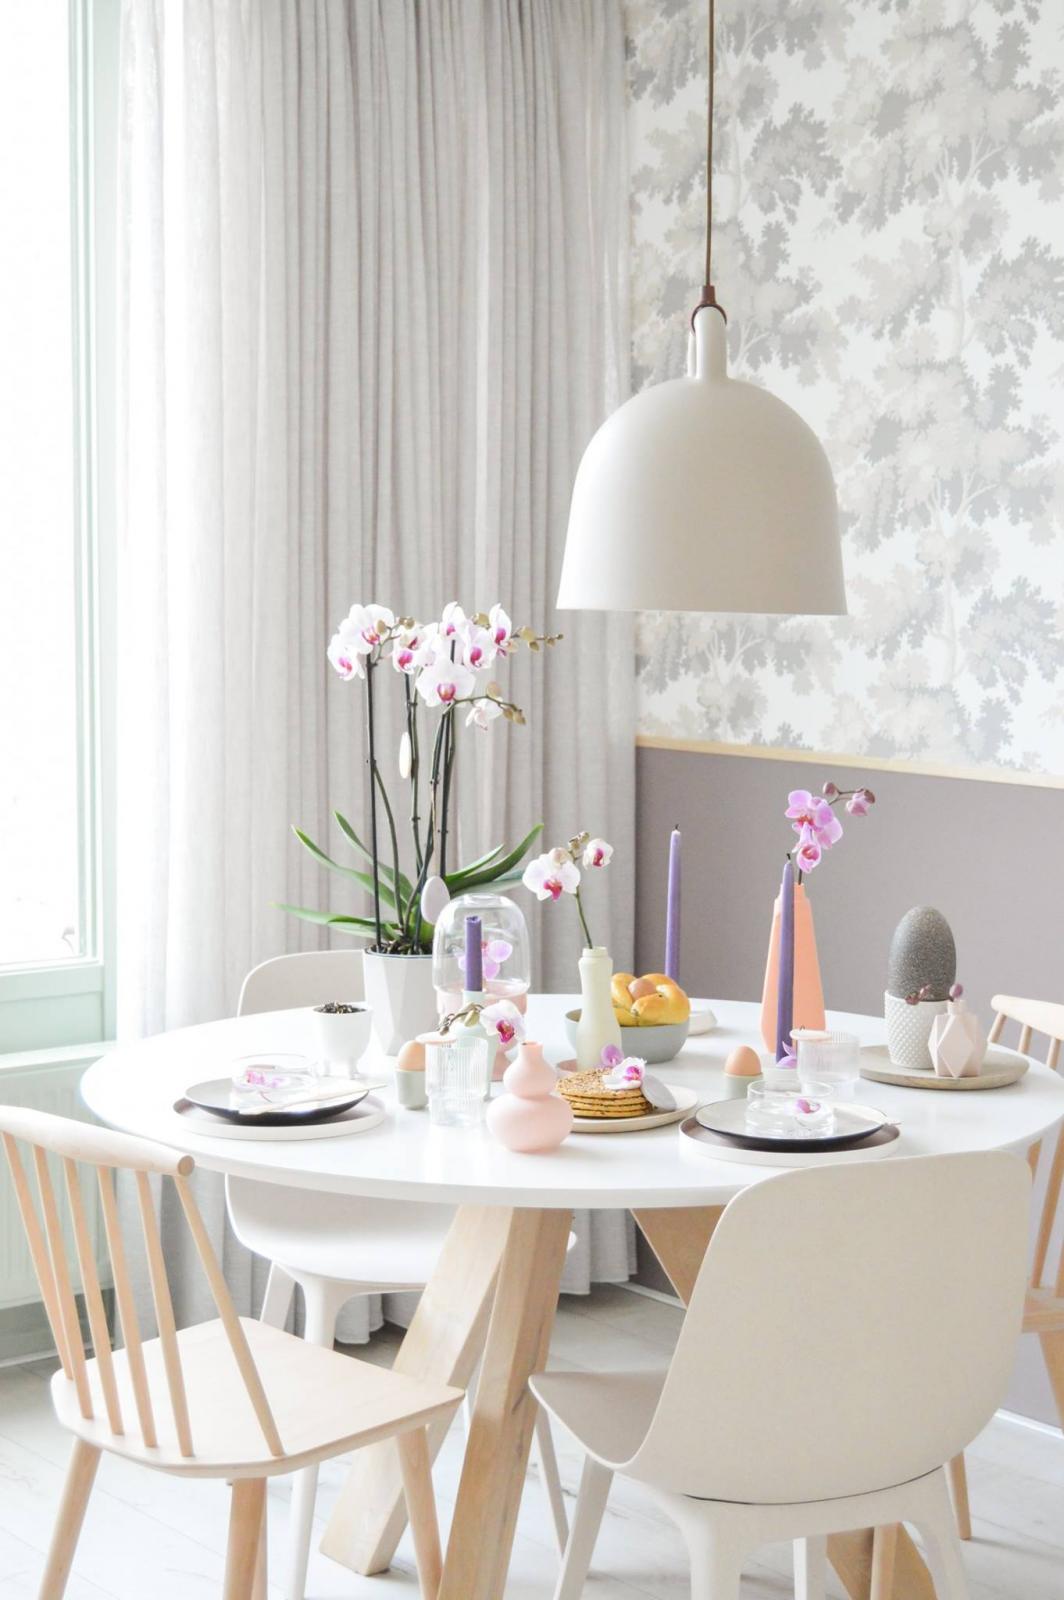
How to decorate an Easter table that instantly brings joy
Are you wondering how to decorate an Easter table that instantly brings joy? By using accessories and plants in Easter colours – like yellow, pink, and purple – it quickly becomes a cheerful affair. But to make Easter a little more special this year, we’ve come up with two fun Easter decorations that you can make yourself. These will complete the Easter table!
How to decorate an Easter table that instantly brings joy
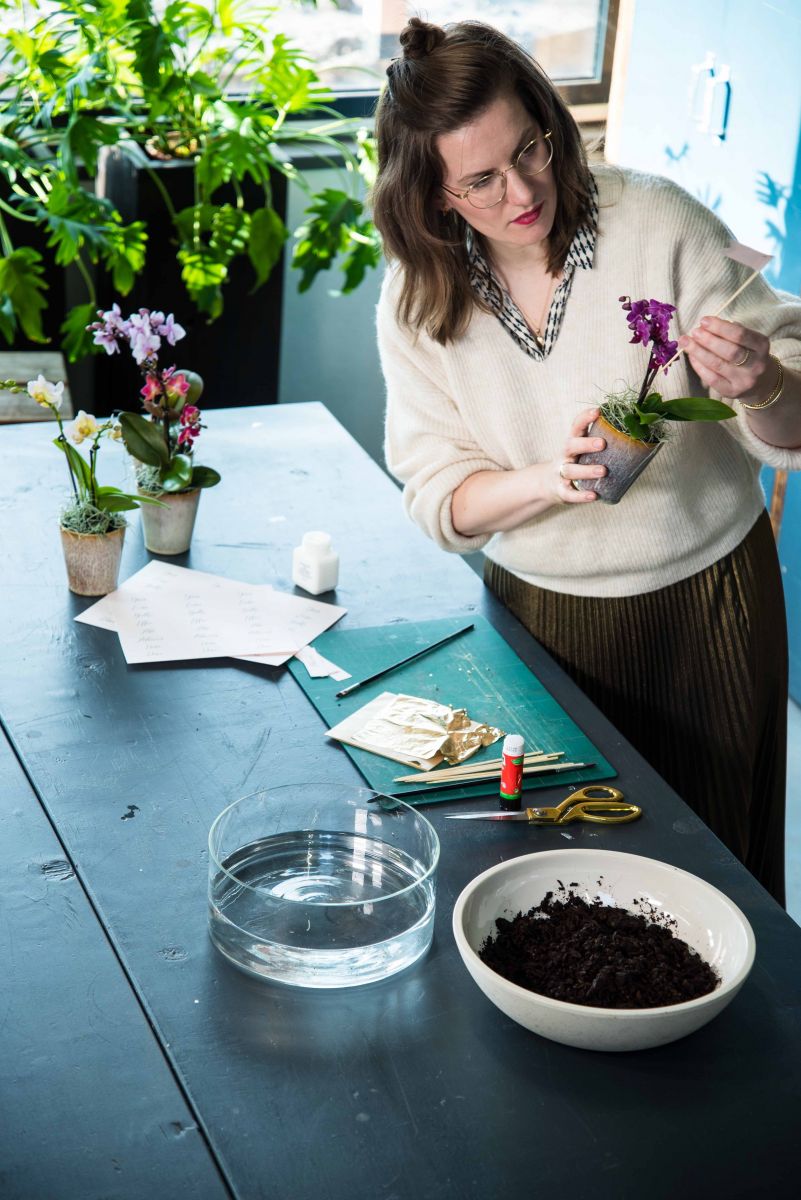
A plant pot with Easter eggs
Look for an old plant pot, buy a bag of individually wrapped Easter eggs, and a tube of glue. Then, stick all the eggs onto the plant pot and place an orchid inside. We bet this will garner plenty of compliments! And the best part: you can snack on the Easter eggs during the Easter brunch!
@orchidsinfo The cutest addition to your Easter decoration! #easterdiy #easterdecoration #orchids #diyplantpot #plantpotdecor ♬ love song (hesitations) (sped up) – Lofuu & Shiloh Dynasty & dprk
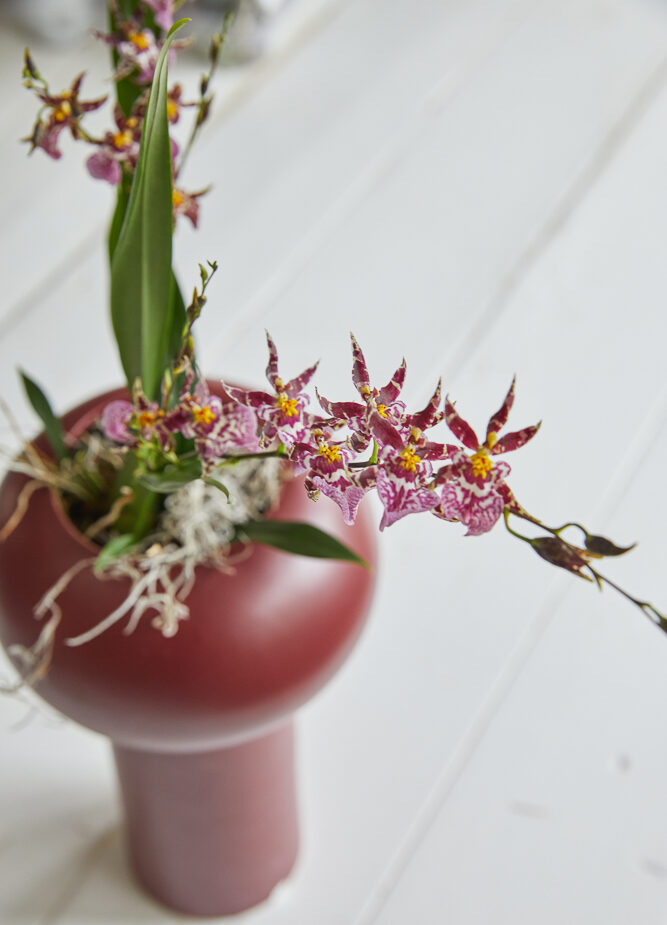
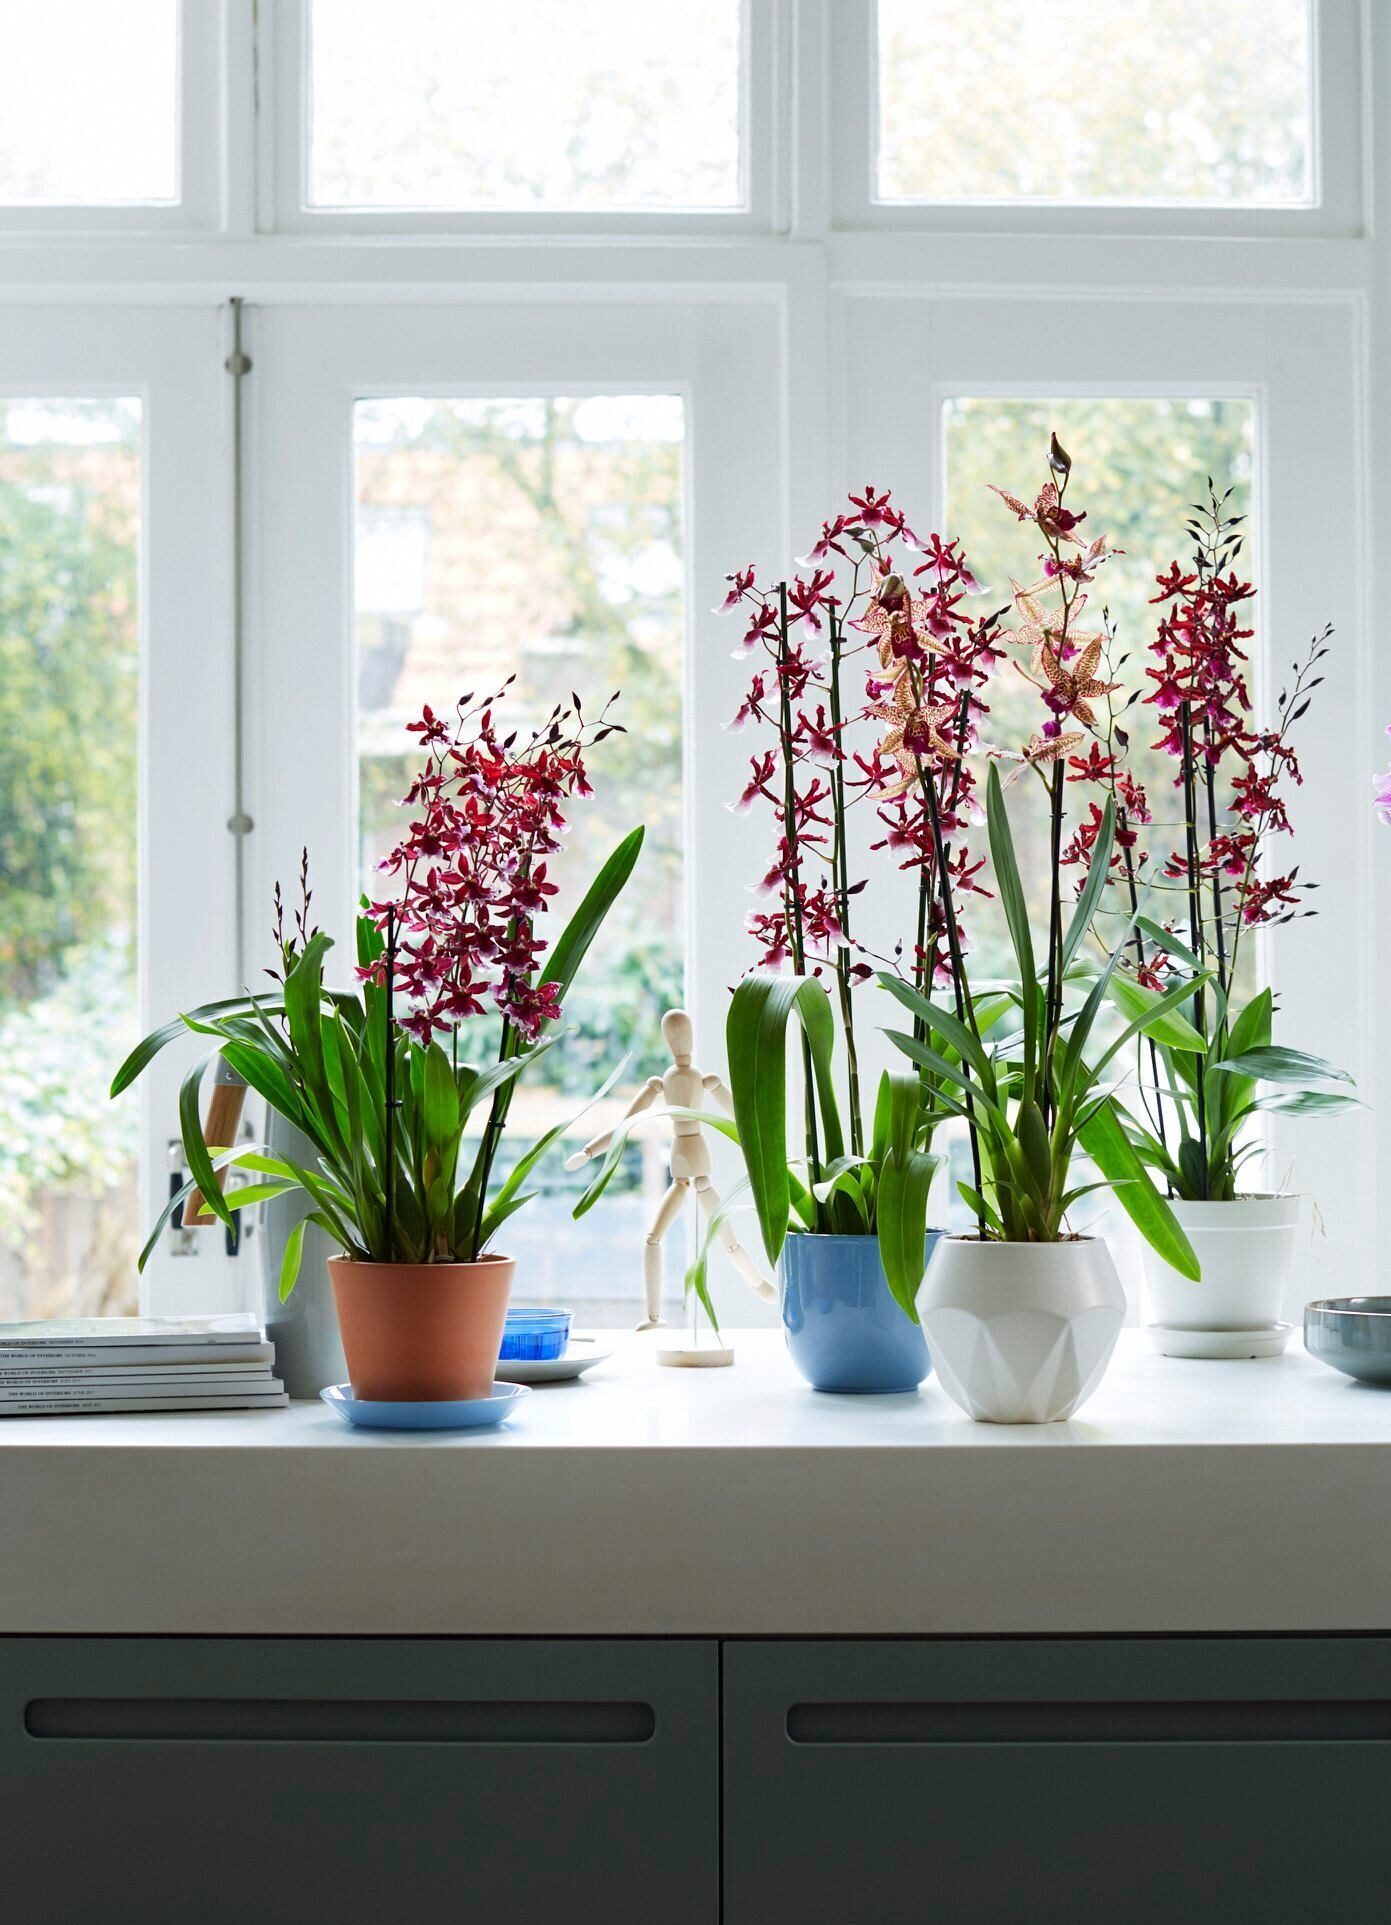
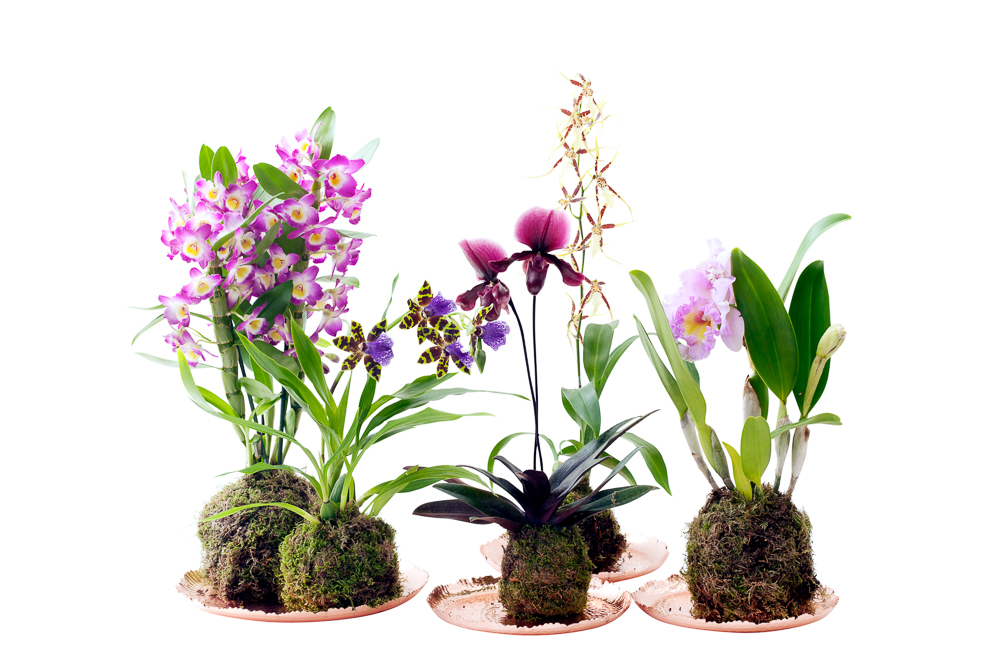
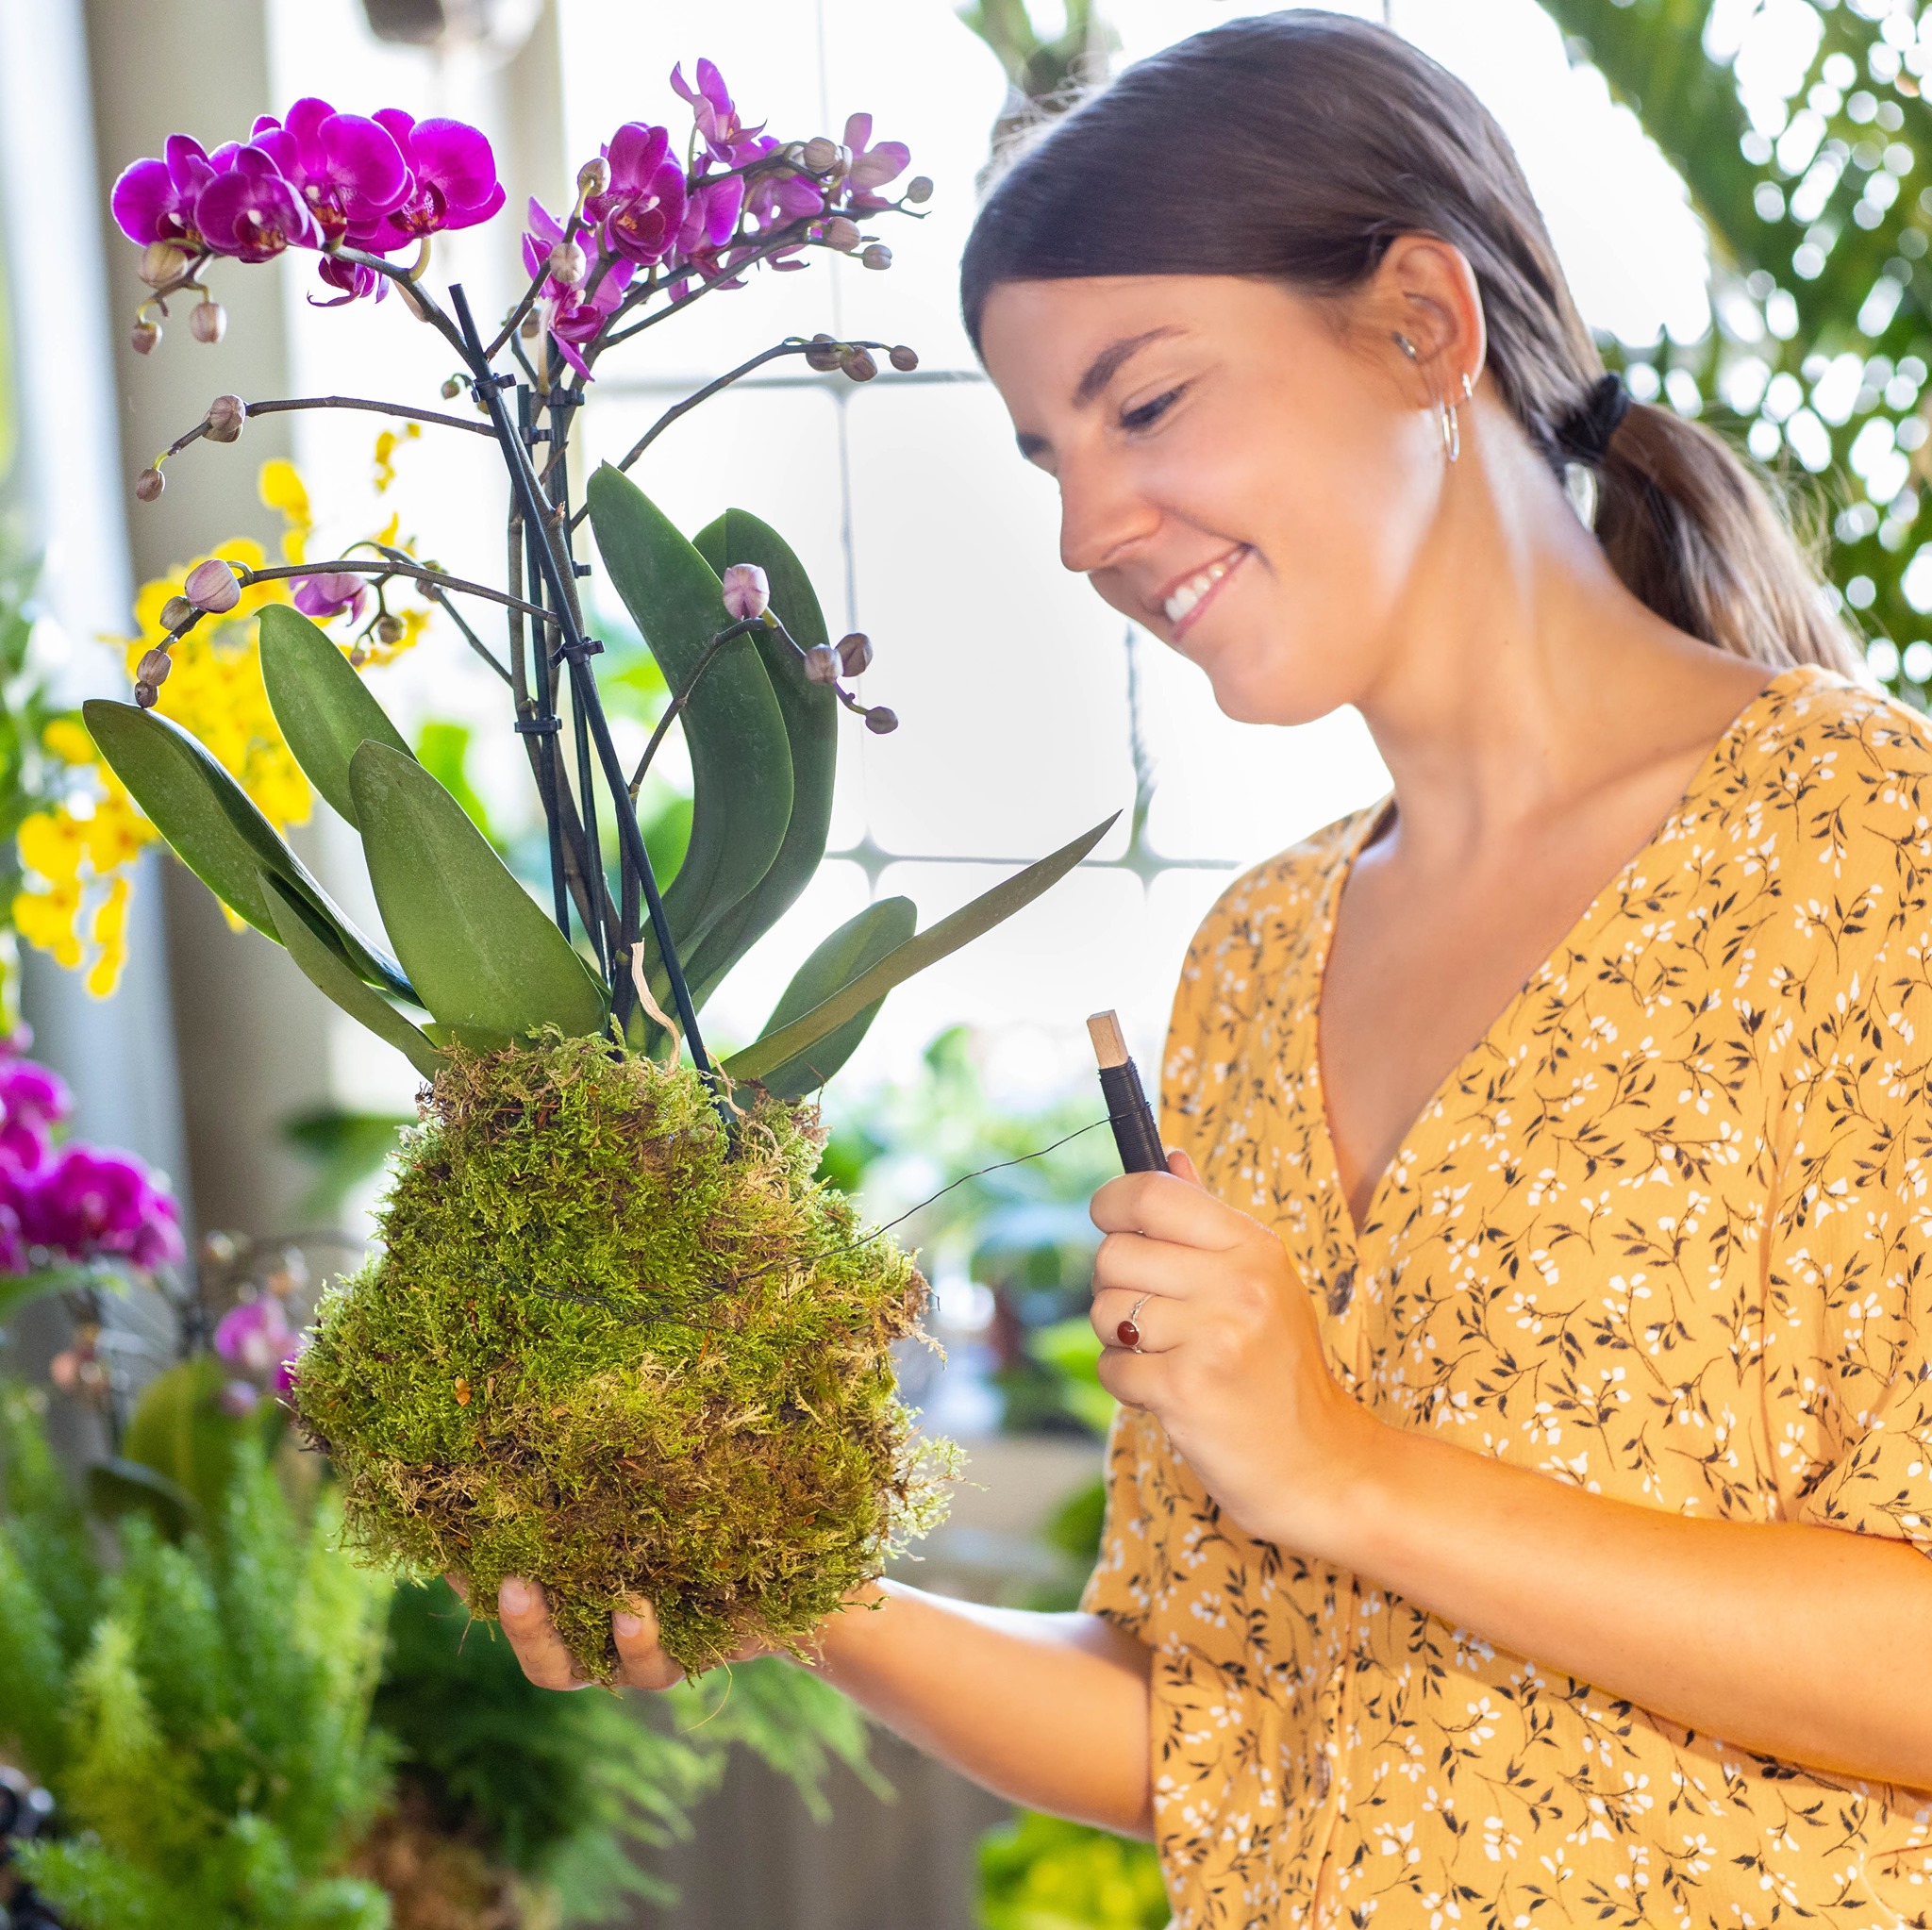
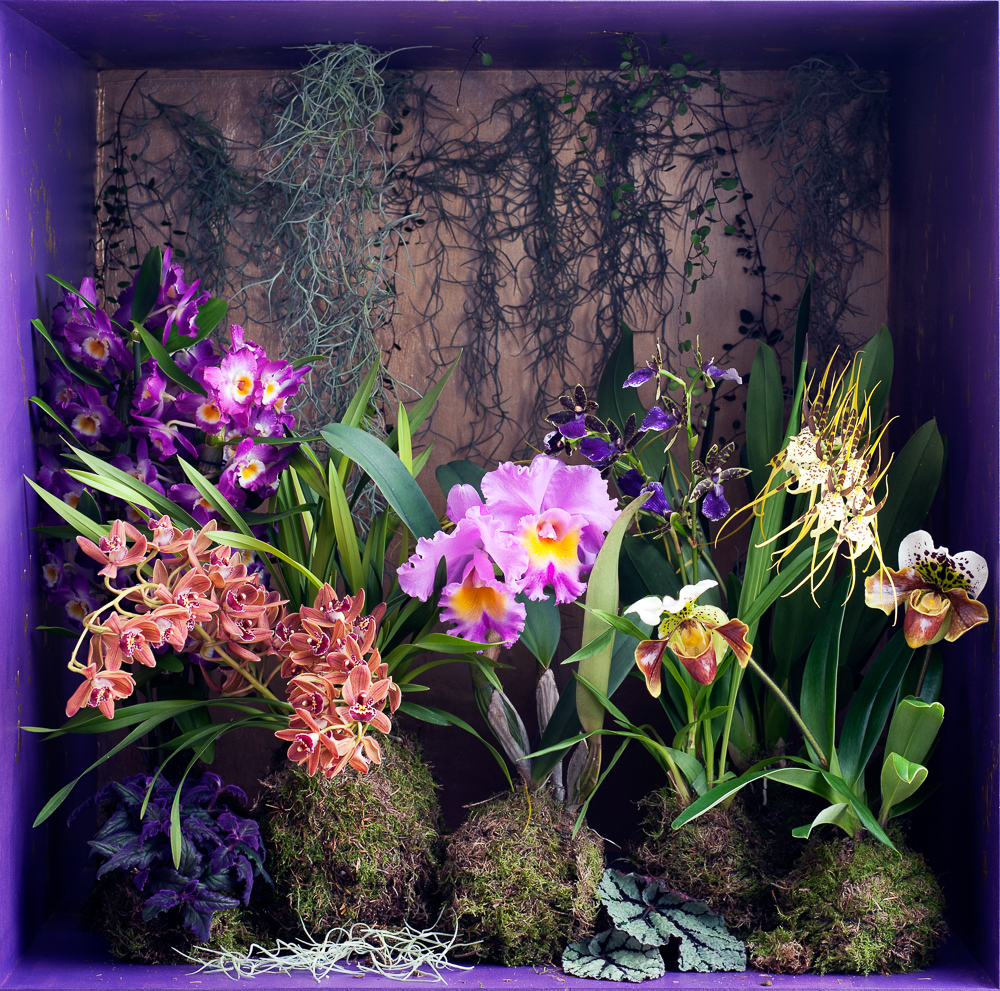
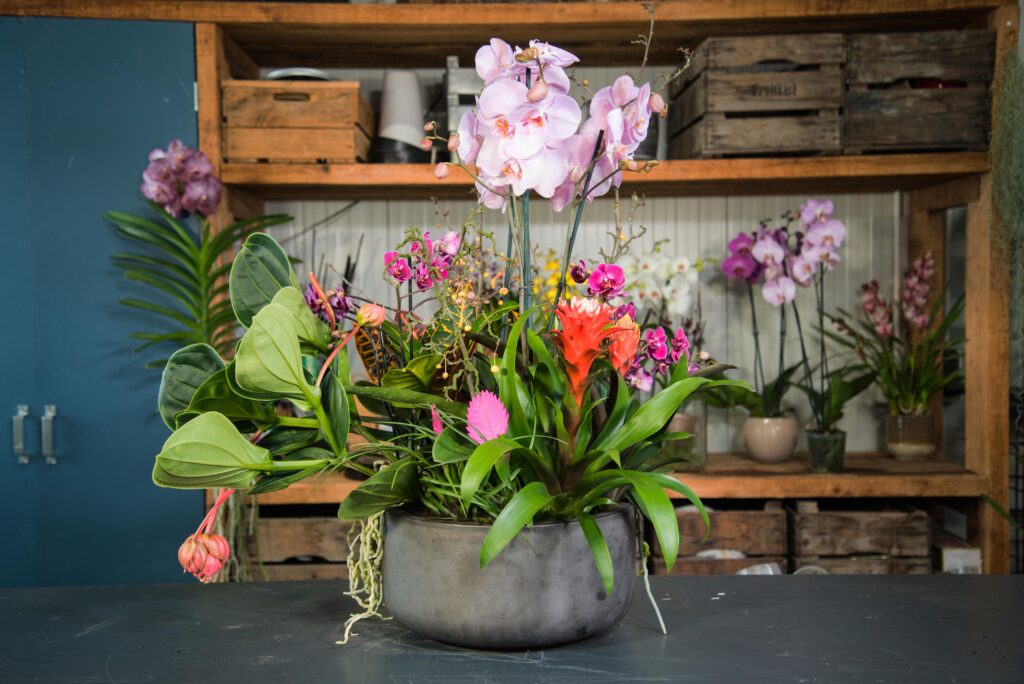
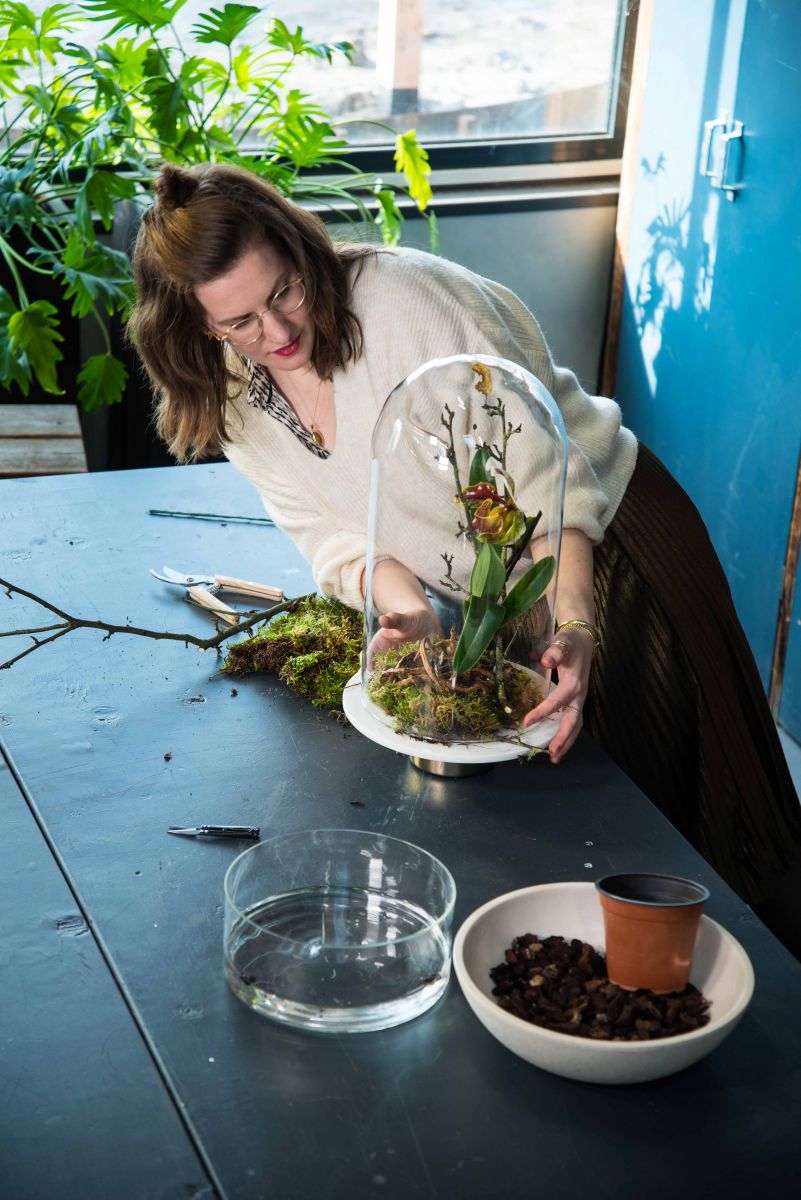
An Easter arrangement with orchids
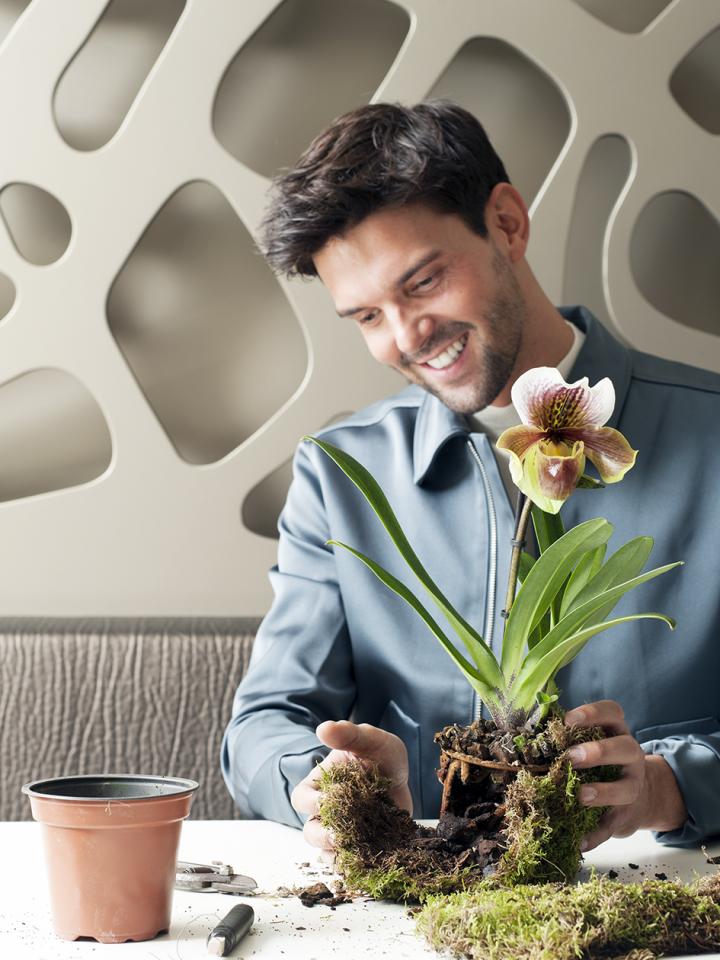
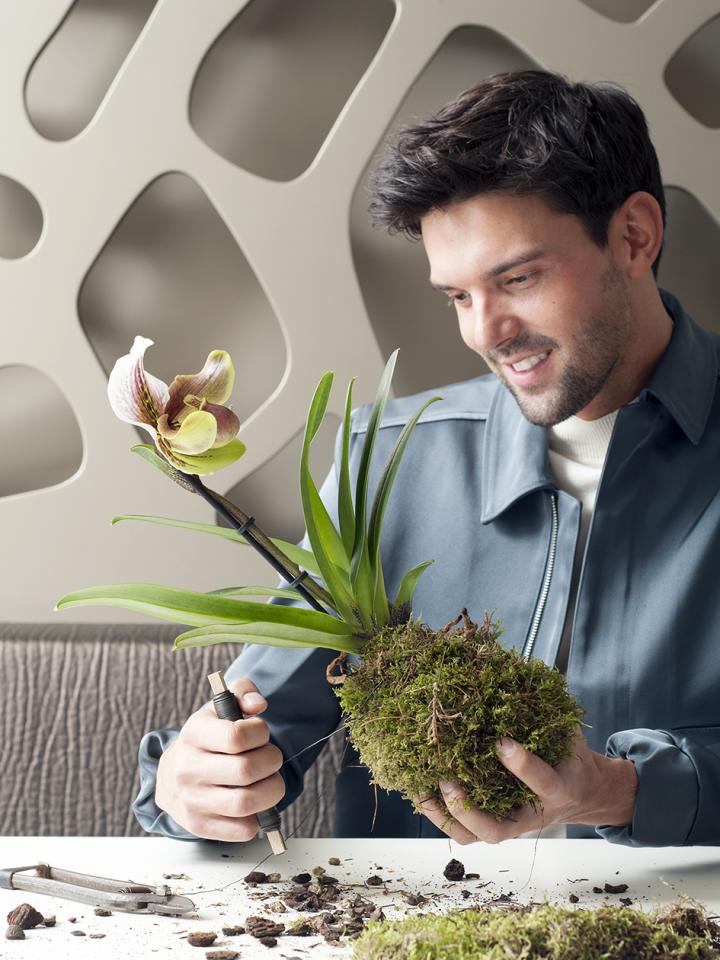
Another fun idea for Easter is to create an Easter arrangement with orchids. It looks spectacular but is easy to make yourself! And as a finishing touch, add a few small bunnies and Easter eggs. After Easter you can remove them, and you’ll have a beautiful spring arrangement that will continue to bloom for a long time.
@orchidsinfo An easy orchid arrangement for Easter! Afterwards simply remove the bunnies and eggs to transform it into a spring arrangement 🐣🐰 #easterdecordiy #orchidarrangement #easterarrangement #easterdiy #easterorchids ♬ Food – eas Ratta