Caring for an orchid isn’t difficult at all. It’s a beautiful plant that doesn’t have many demands. With minimal effort, you can enjoy it for years to come. In this article, you’ll find 4 handy tips to help keep your orchid blooming for as long as possible.
How to keep your orchid blooming for as long as possible
Keeping your orchid blooming for as long as possible is all about the right care. As long as you keep the plant happy, it will reward you with beautiful flowers. There are thousands of different orchid species, with the Phalaenopsis being the most well-known. They don’t all require the same care, but there are a few general tips that will make most orchids happy. The guidelines below will take you a long way. Tip: when purchasing an orchid, always ask if there are any specific tips for the specific variety you’re buying.
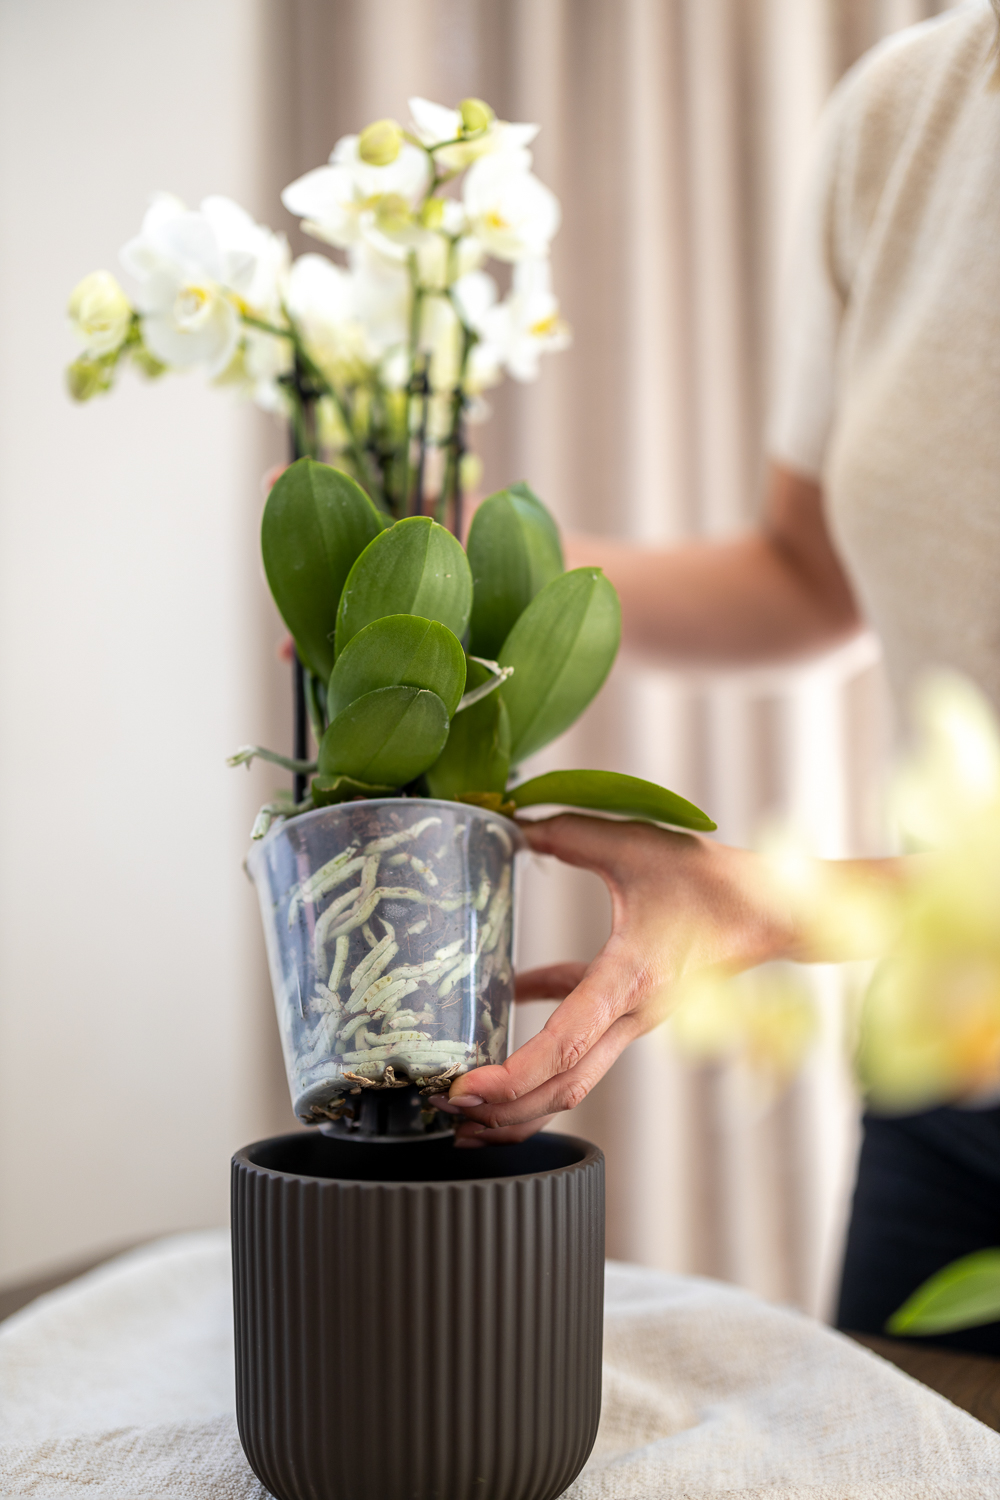
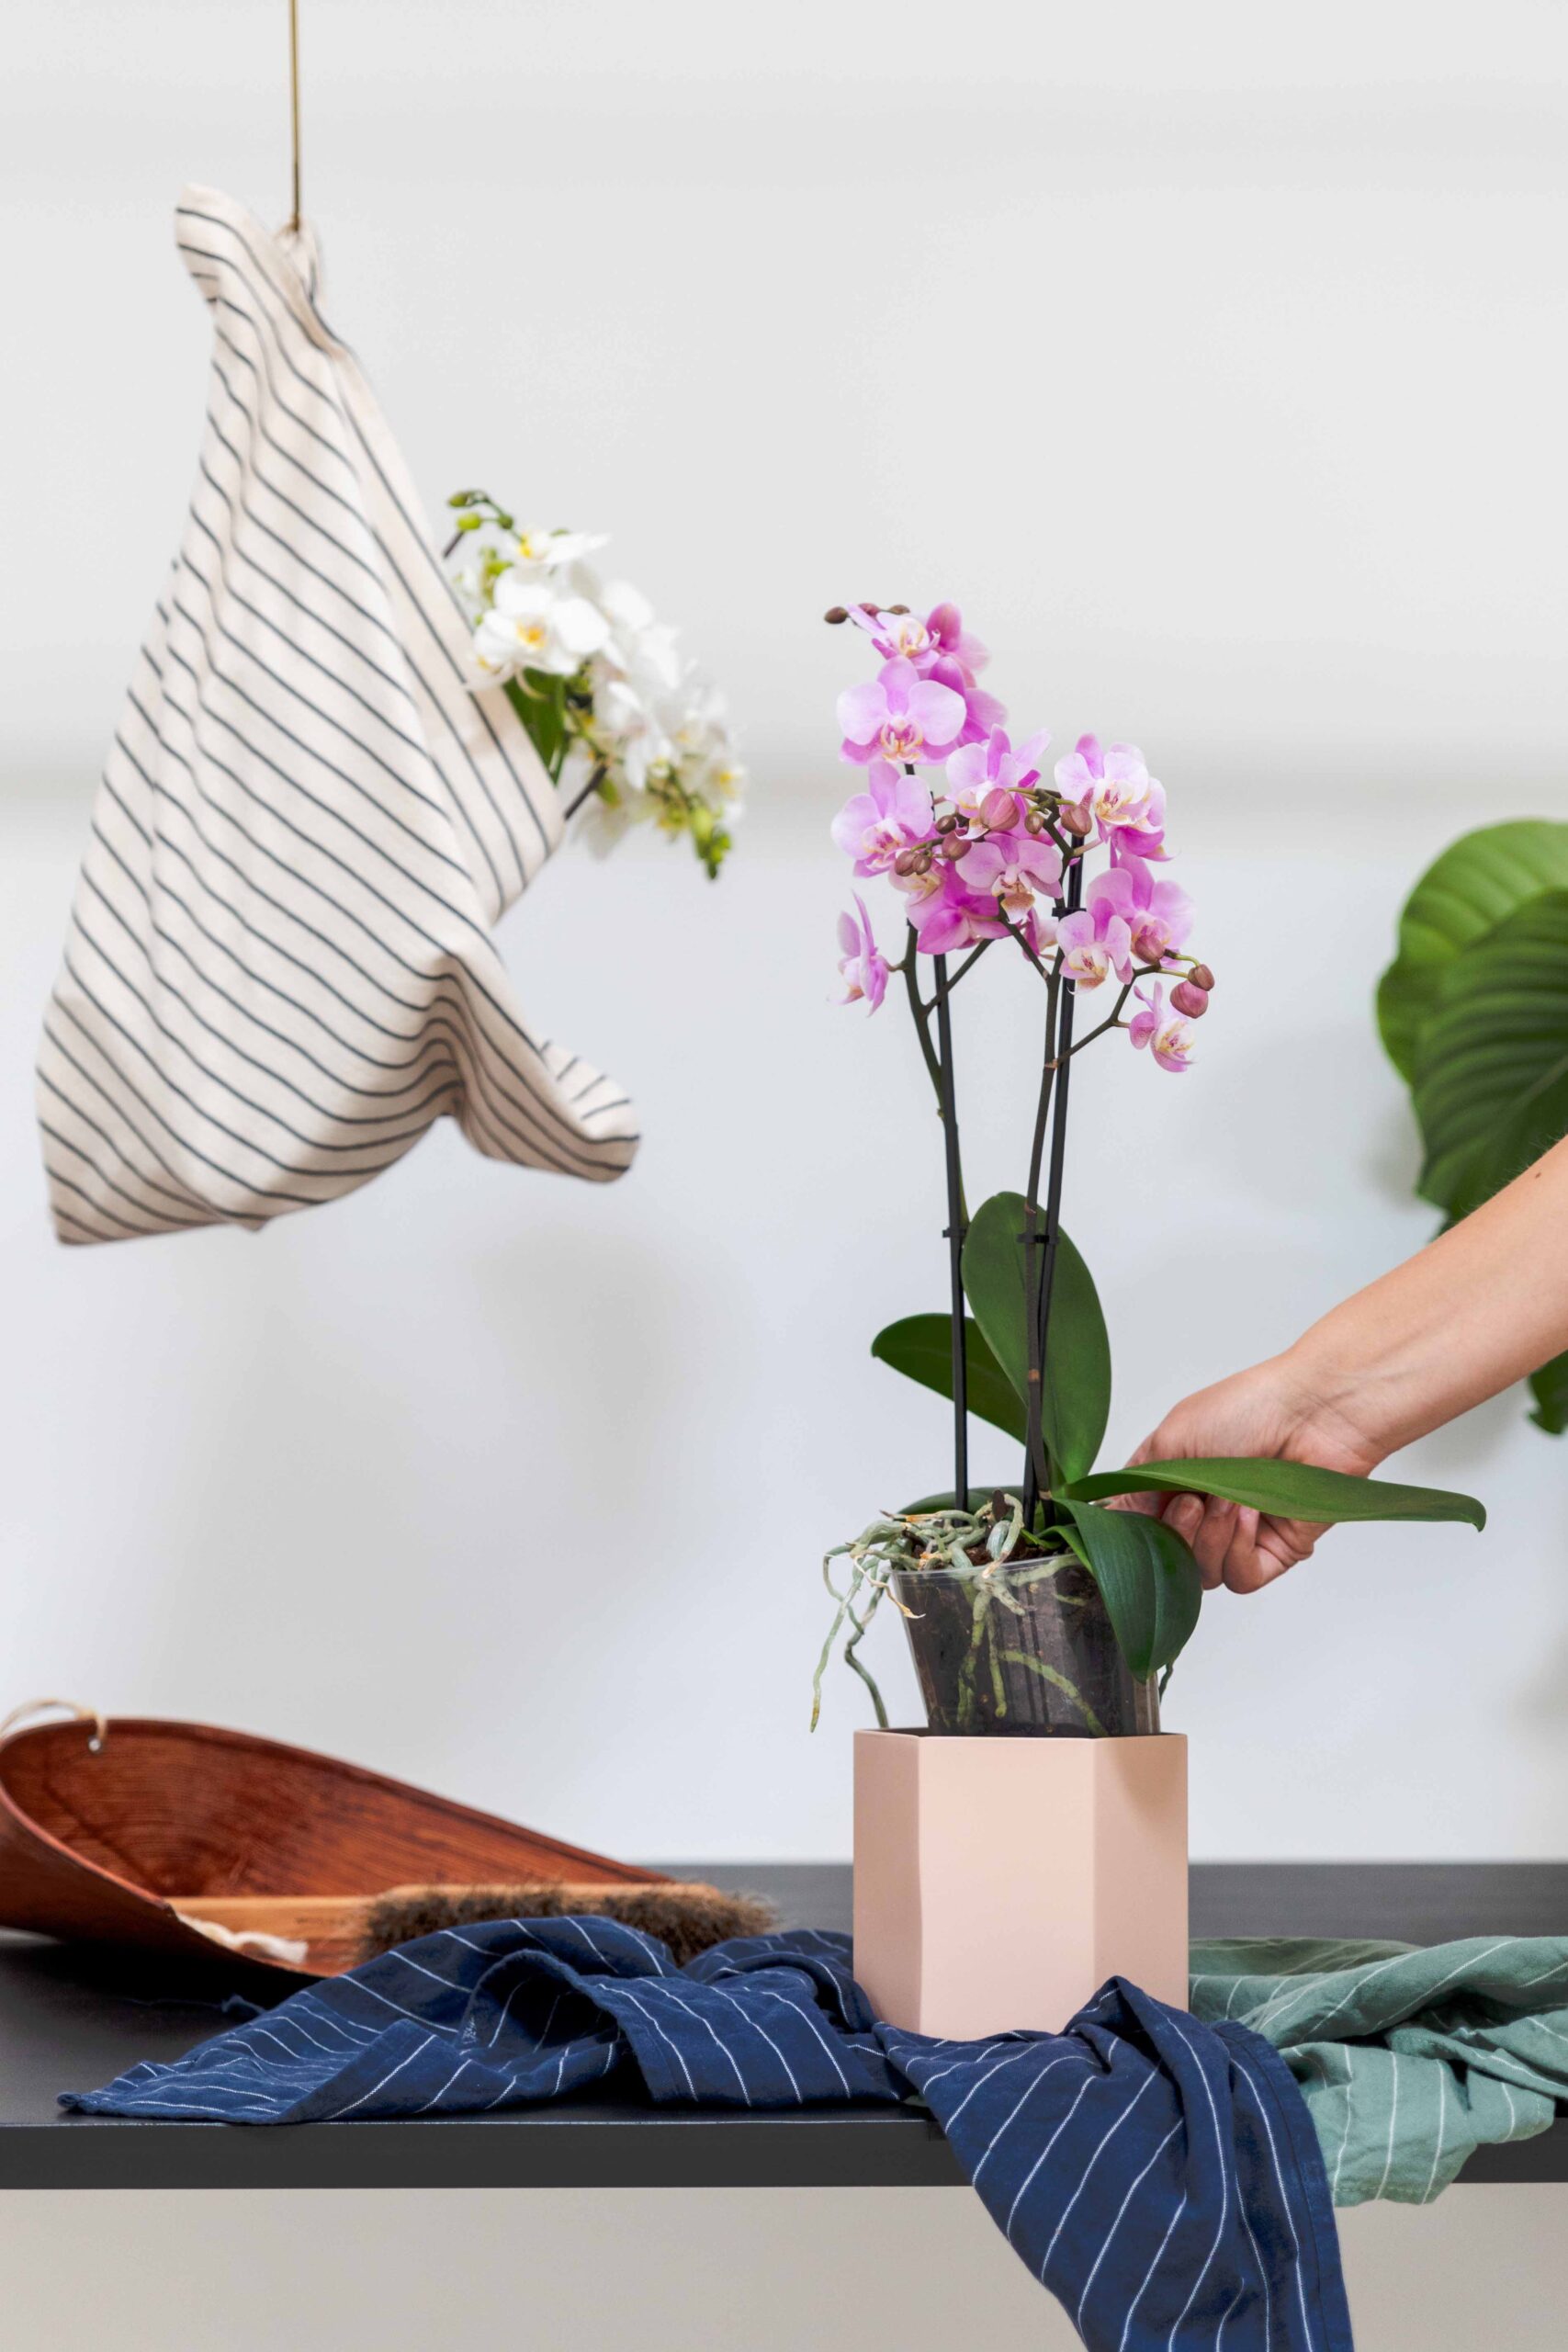
Inspect your new orchid
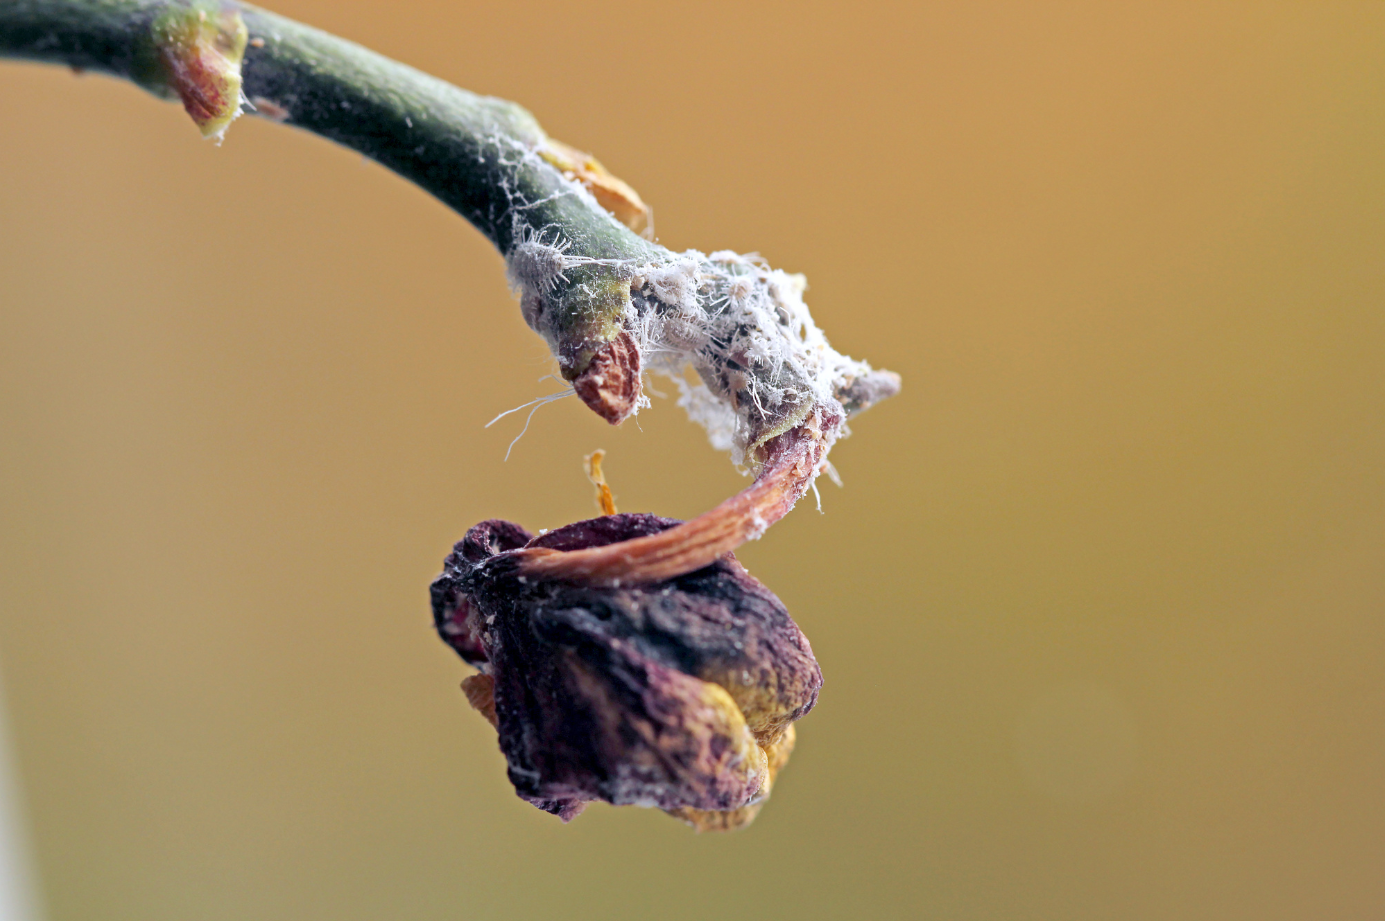
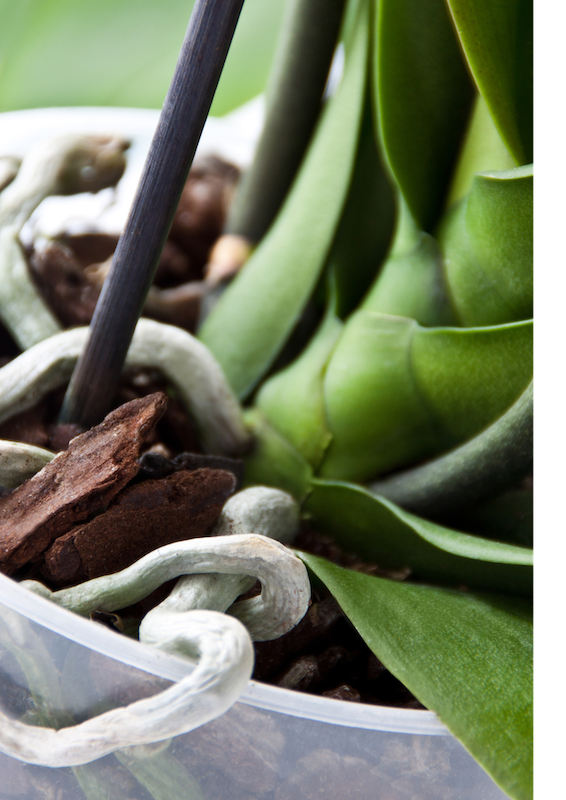
Since prevention is better than cure, we recommend always checking whether an orchid is healthy when purchasing it. Are the roots green, the leaves smooth and 50% of the flowers are open? Then you have a healthy plant. Bad signs are: dark brown roots, misshapen leaves and many yellow buds.
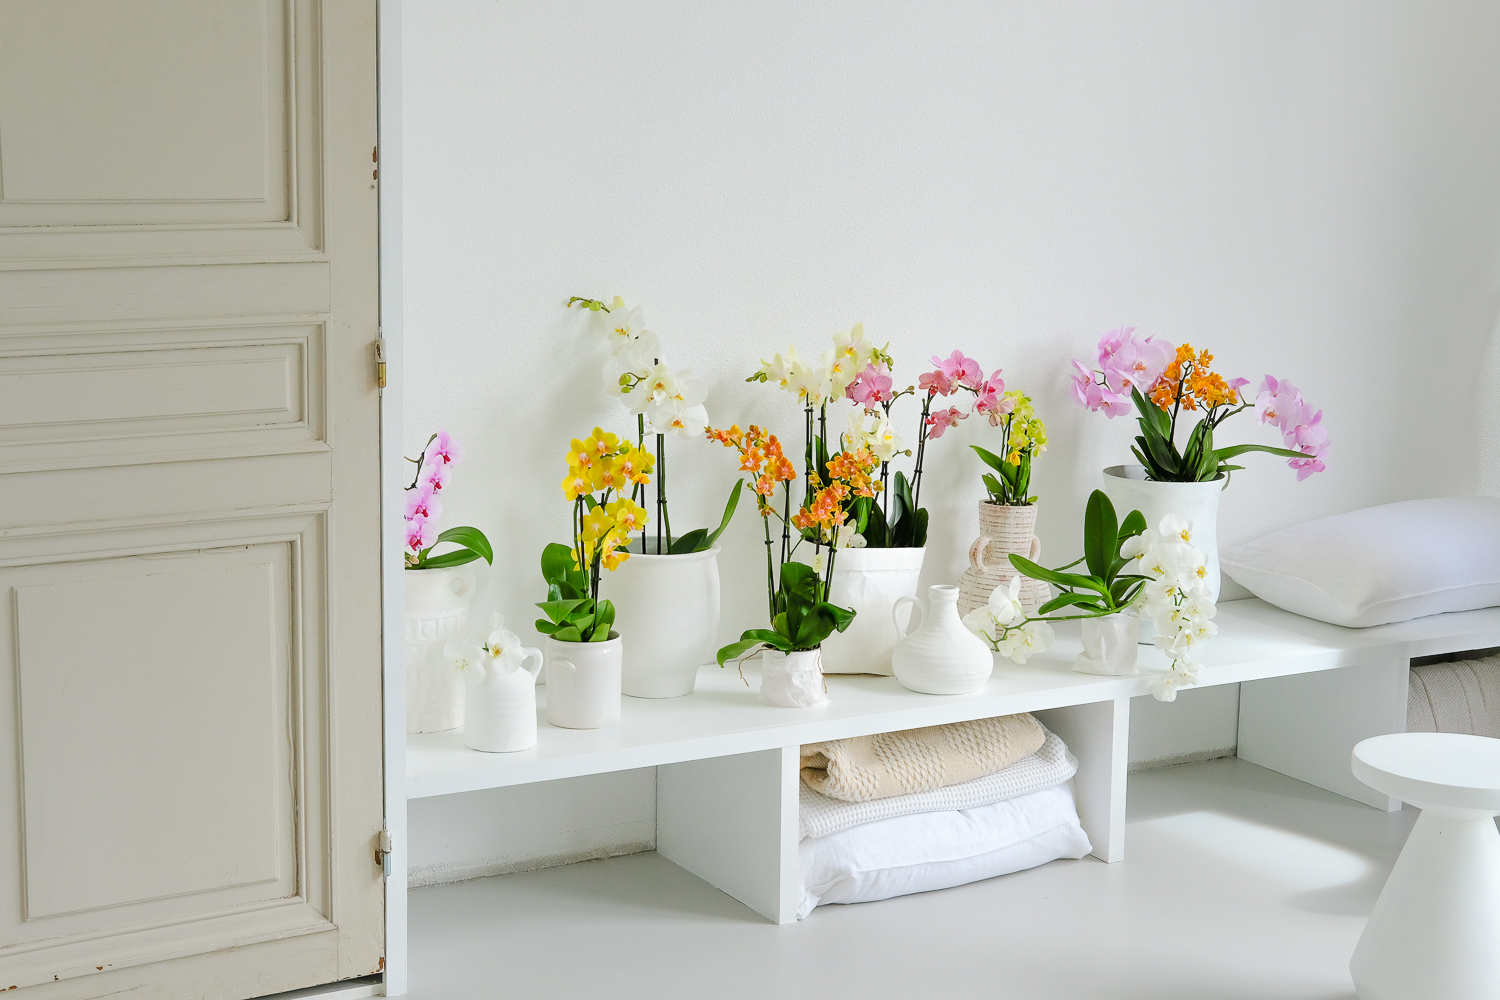
What is the best place to keep an orchid?
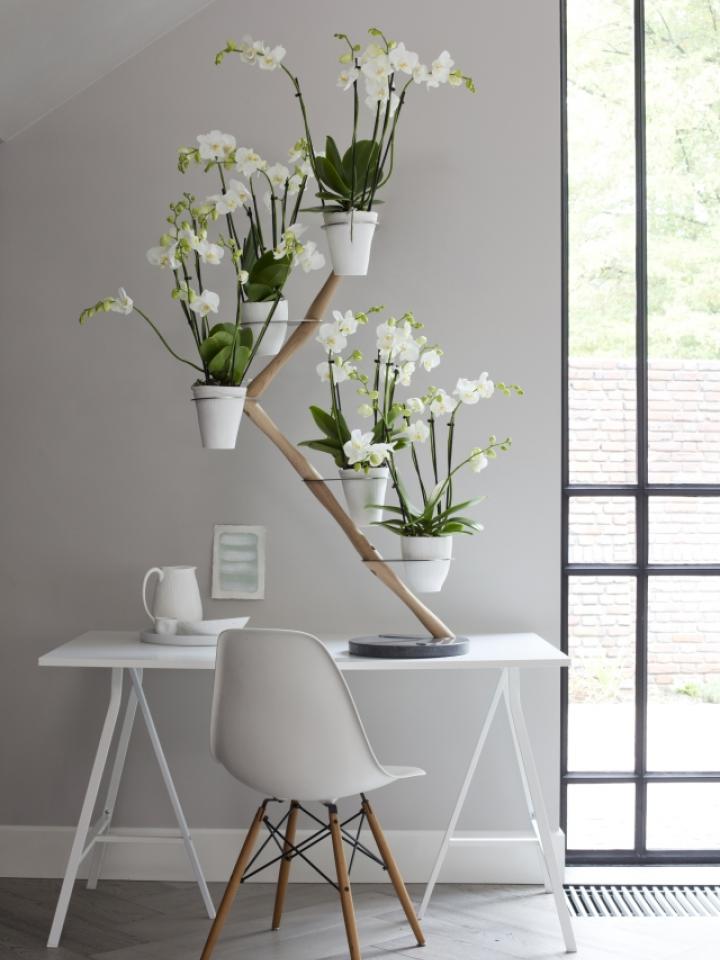
Once at home, it’s important to find a nice spot for your orchid. The best place to keep an orchid is a bright spot, but not in direct sunlight. Sunlight can cause the leaves to burn, which we naturally want to avoid. Make sure not to place an orchid in a drafty area or near a heater. Also, be cautious with fruits, as some types of fruit – like bananas – emit a certain gas (ethylene) that can cause your plant to age faster.
How to water an orchid & how often?
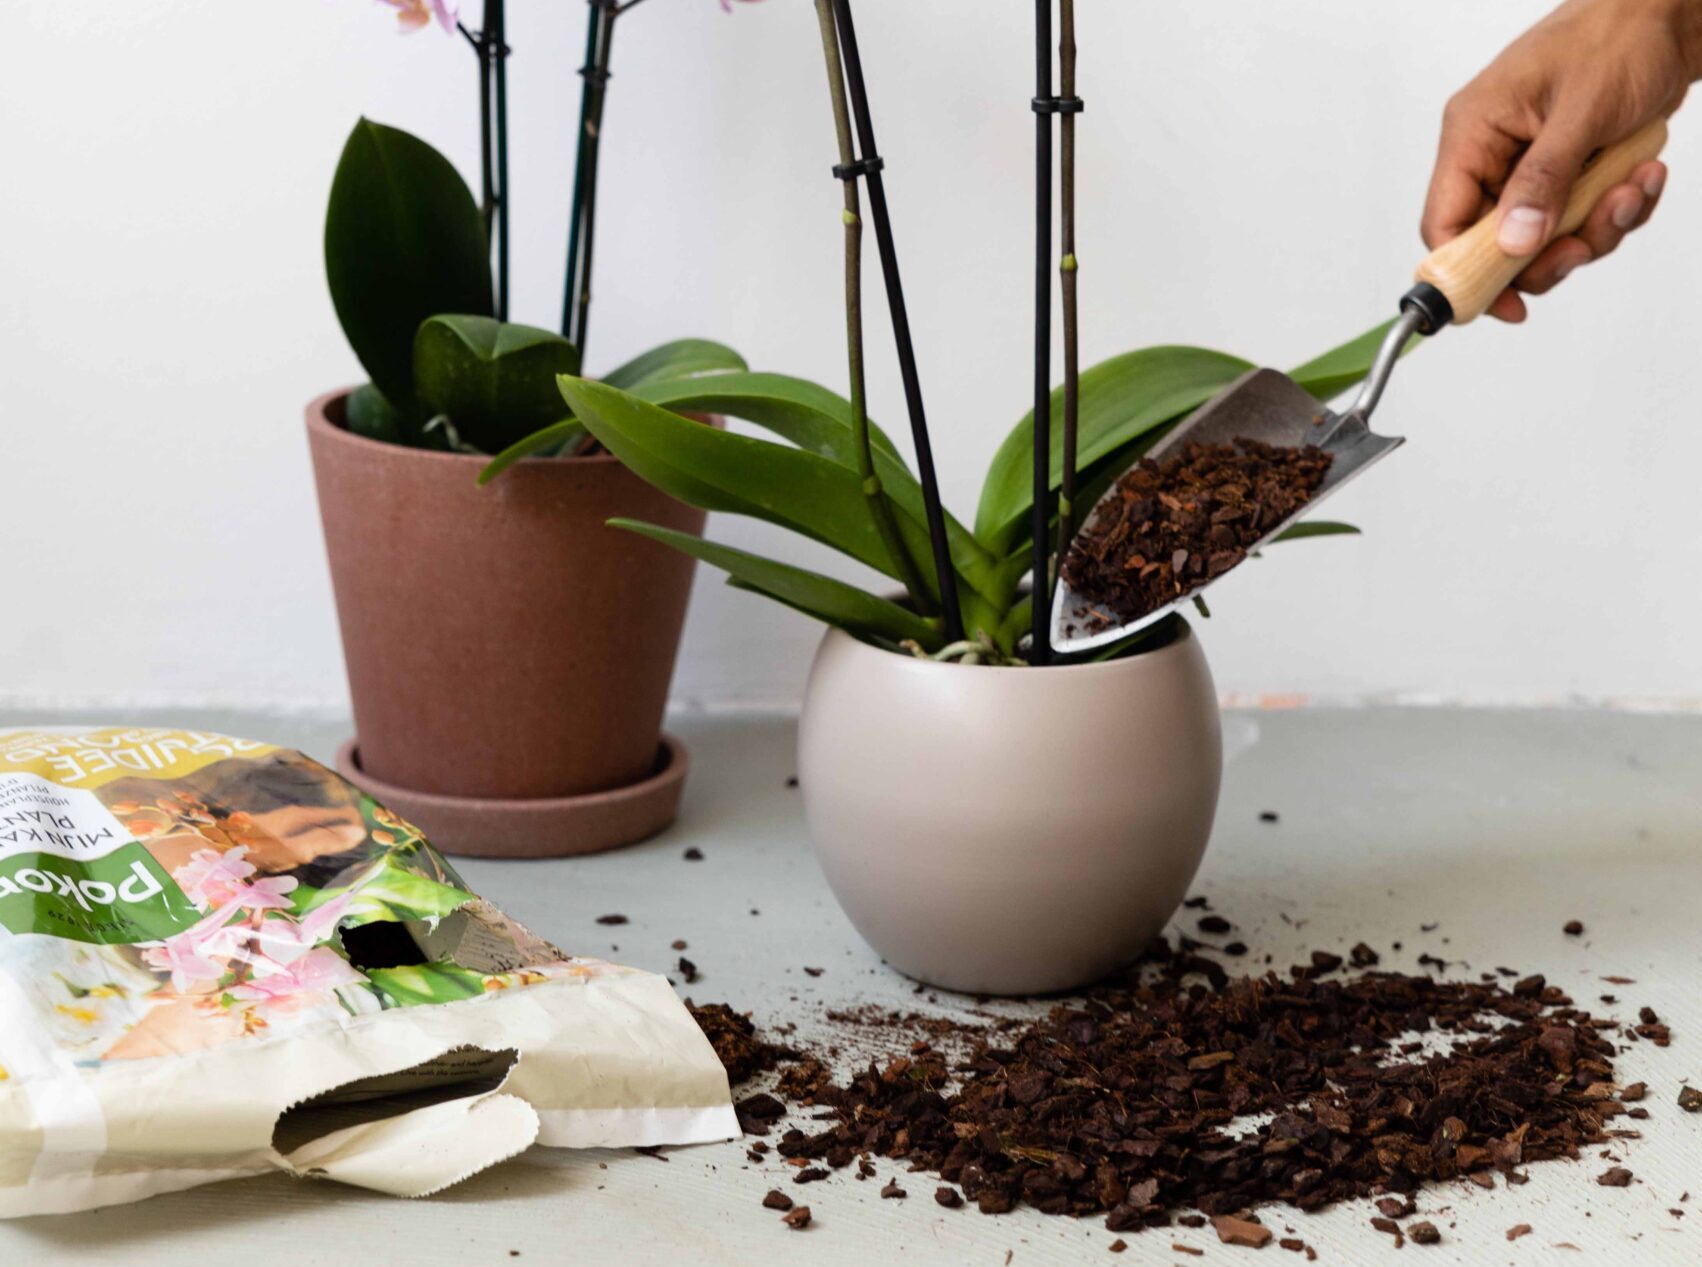
The next important step in keeping your orchid blooming for as long as possible is watering. There are two methods of watering your orchid:
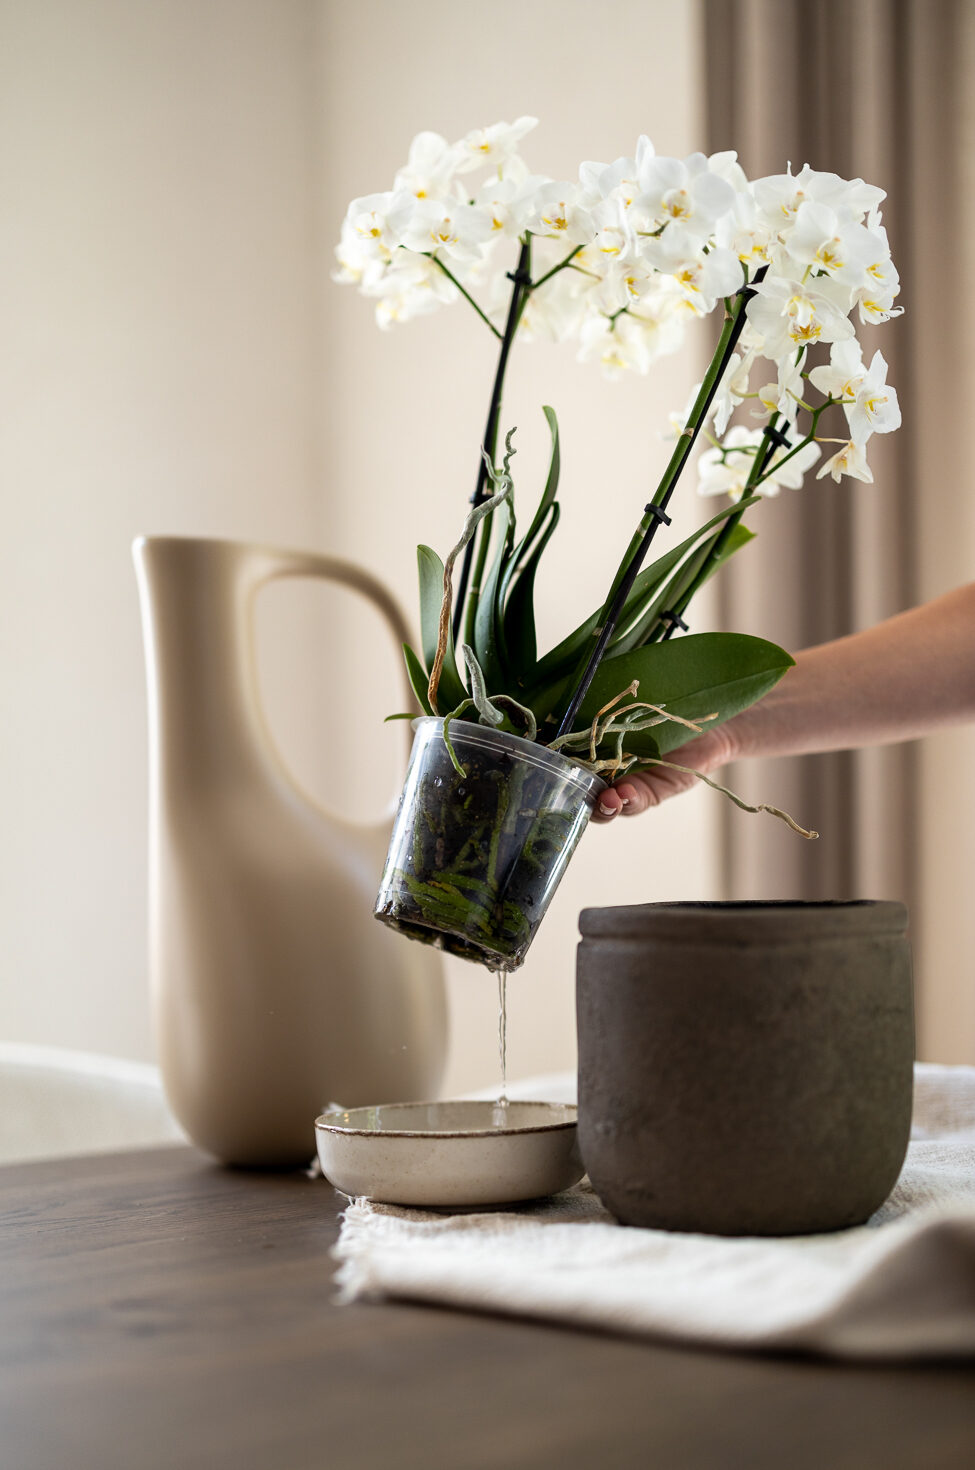
1. Immerse it in water
Remove the orchid from the decorative pot and place it in a container with water for 5 – 10 minutes, allowing the plant to absorb water. Take the orchid out, let it drain and place it back in the decorative pot. Preferably do this once a week.
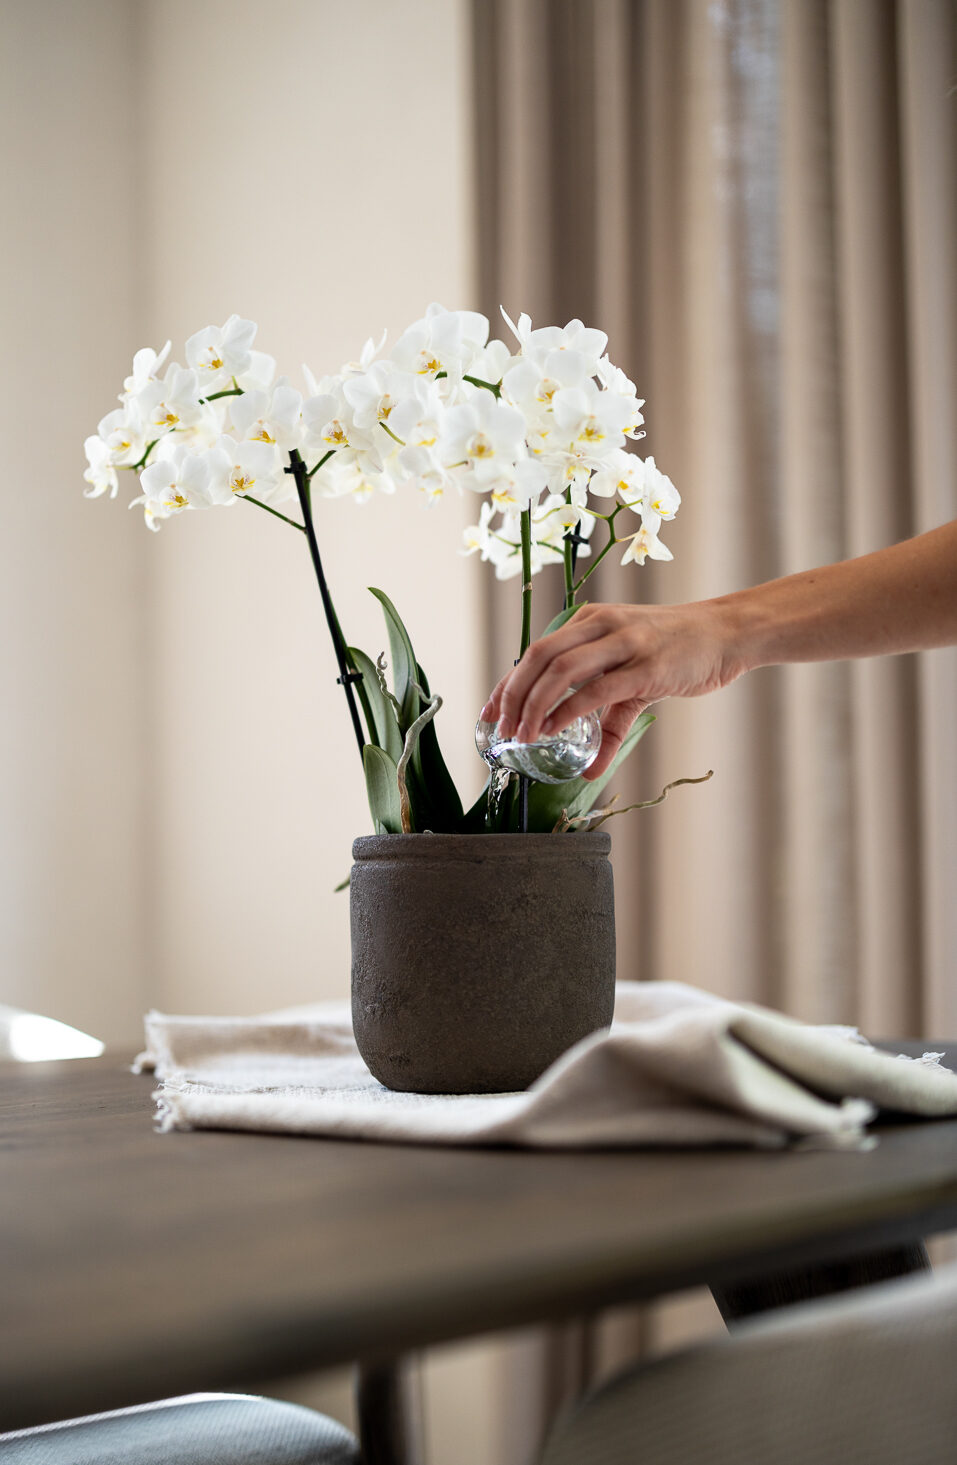
2. Water it
Pour about 60 ml of water onto the soil in the orchid’s pot. During the summer, it’s best to water your orchid once a week, while once every two weeks is sufficient in the winter.
When watering your orchid, make sure there’s no standing water in the pot. This can be harmful to the plant, causing the roots to rot.
How to get your orchid to rebloom
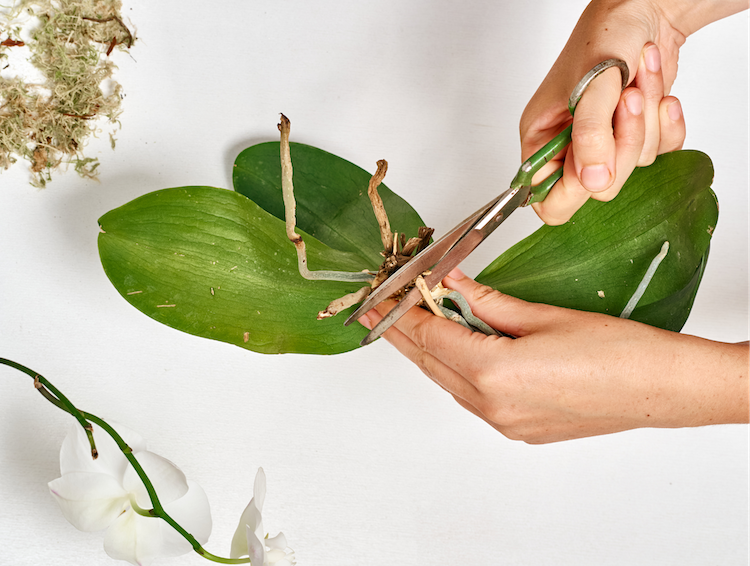
Most orchid species bloom for an average of six to ten weeks. Unfortunately, all blooms come to an end. But don’t discard the plant, as you can make it bloom again. To get an orchid to rebloom, there are two things you can do:
- Is the stem still green? Cut it off above the second bud.
- Is the stem dead? Cut it off completely.
Place the orchid in a cool place and give it relatively little water. When the plant starts forming new stems and/or buds, move it to a warmer spot to encourage blooming. Water your orchid once or twice a week and occasionally mist it with a plant spray. Optionally, you can support the new stems with a stake and clips.